In the world of open source software, the phrase “scratching one’s own itches” comes up pretty frequently.
The idea is this: If you’re working on a problem and find you’re missing a useful tool, you can build it yourself and share it with the community. When enough people do this, we get great tools.
I’ve been doing this for years. I created my Zelda fonts because I wanted to be able to write stuff with them. I created Roll20 Enhanced Keyboard Shortcuts because I wanted better tools for running D&D. And of course, I have also built and contributed to more typical open source software projects. But in the past few years, a new technology has entered the hobbyist realm for solving what we might call “hardware problems” using general-purpose tools. I am talking, of course, about 3D printers.
3D printing has actually been around for a long time, but until fairly recently it has been very expensive. Today, you can get a really solid 3D printer with quality of life features like auto-leveling and filament runout detection for $200 or less, and a kilogram of PLA filament runs about $20. In addition, our tools for designing, sharing, and preparing these models for printing have gotten really, really good.
3D printing has turned out to be a very useful tool for scratching one’s own itches, and to illustrate that (and maybe help get some creative juices flowing) I’ll share three personal projects I’ve worked on recently.
Note: None of the products linked in this post are sponsored placement or affiliate links. I don’t even necessarily recommend them. They’re just products I use.
To Gridfinity And Beyond
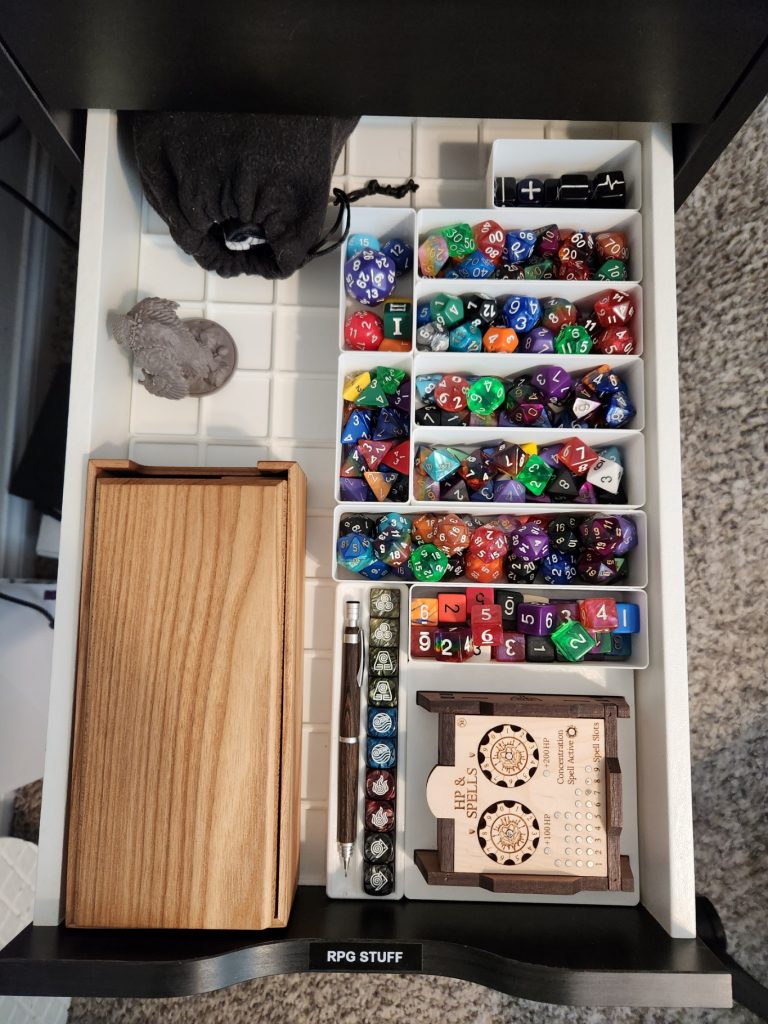
Gridfinity is a modular organization system created by cyborg mad scientist and YouTuber Zack Freedman. At its heart, it is an open-source standard for building inter-compatible 3D-printed 42mm storage blocks that can stack together and rearrange to adapt to the ever-changing organizational needs of maker spaces of all sorts and sizes.
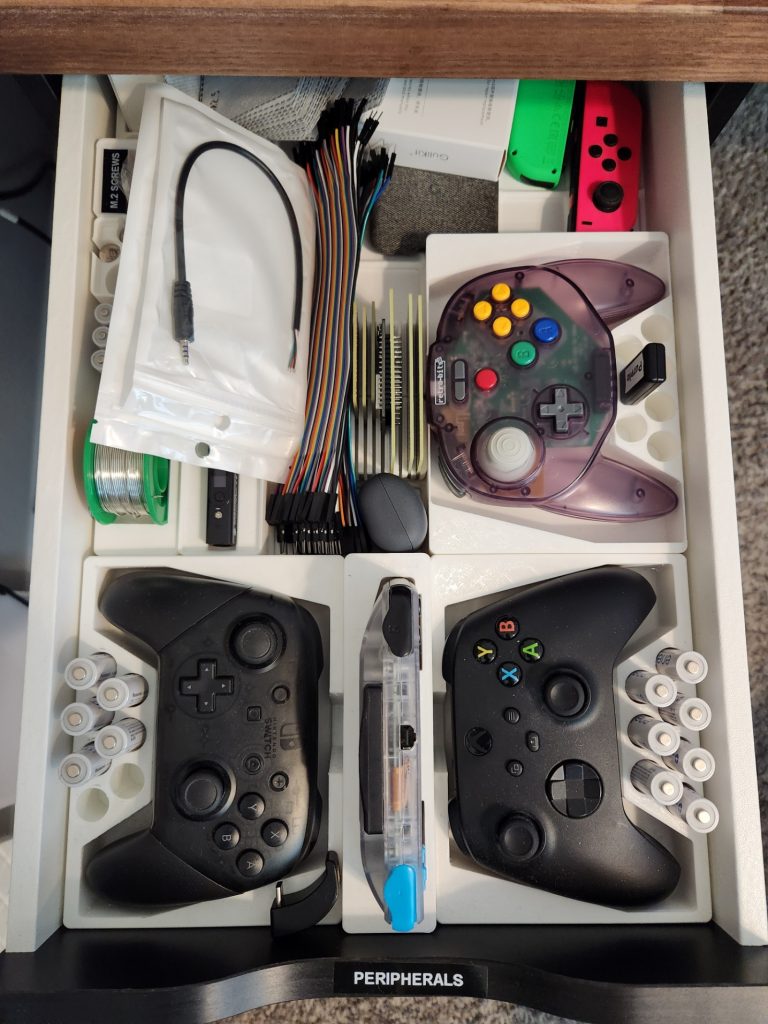
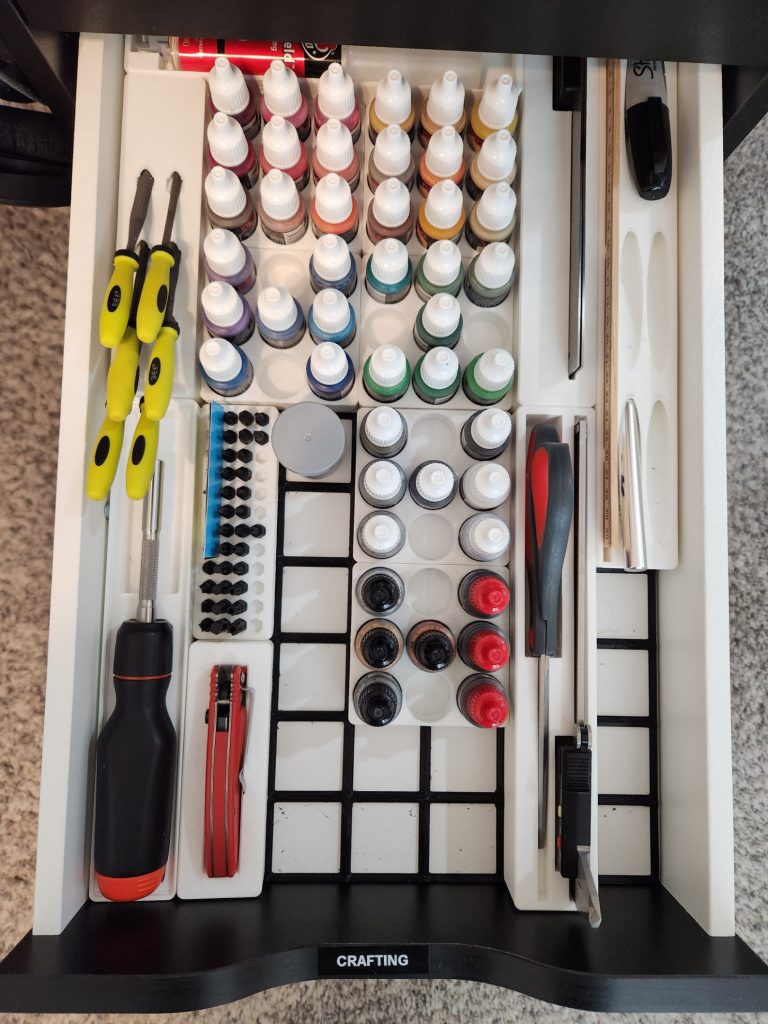
As it turns out, 42mm was a very good size choice. The popular ALEX drawer units from IKEA (two of which form the legs of my desk) fit 7 Gridfinity units on the horizontal axis per drawer, and just over 12 units deep. So two 7×6 frames just about perfectly fill one drawer (with a small spacer in the back to absorb the rest of the Y axis). So I’ve been printing up a mess of frames and bins and designing a bunch of my own storage blocks to perfectly contain the various THINGS that have been overflowing in my office for entirely too long.
Making Storage Blocks
Making these storage blocks is really easy! Here’s my process (using Fusion 360):
- Grab KptnAutismus’ Gridfinity templates for Fusion360 (they’re the best starting point).
- Measure the thing I’m trying to store in terms of how many blocks it will take up.
- Open up the appropriate template file and set the parameters for blocks (rows/cols) and height.
- Take more precise measurements of the thing I want to store and using calipers and add a good 0.5mm of clearance in every direction.
- Slap a sketch on the flat surface of the block, draw the shape of the thing to be stored, dimension it using the numbers from Step 4, and cut it out of the storage block.
- Add extra cutouts to make use of extra space, allow enough room for fingers to grab tools, put some nice chamfers all around, and export the model as an STL
- Slice it up in PrusaSlicer and print it.
Sometimes this takes a few iterations, but filament is cheap and the end result is a perfect container for storing exactly your crap with little wasted space and ideal ergonomics for your specific use case. It’s a great way to get started with designing and printing your own models.
Headphone Hanger
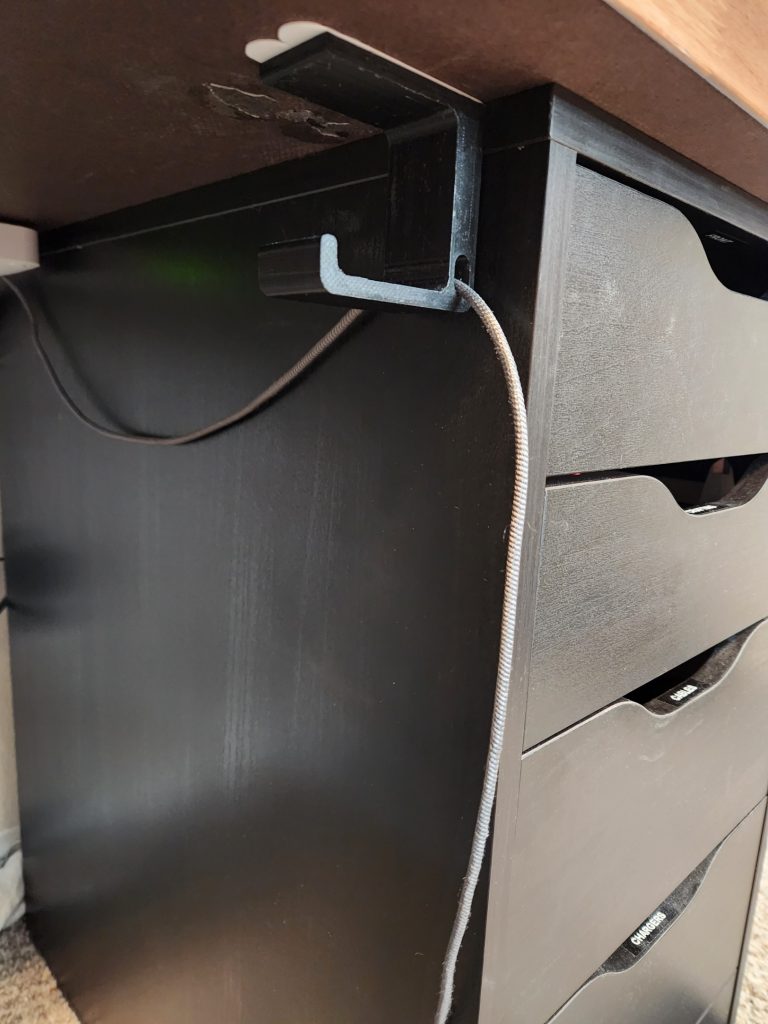
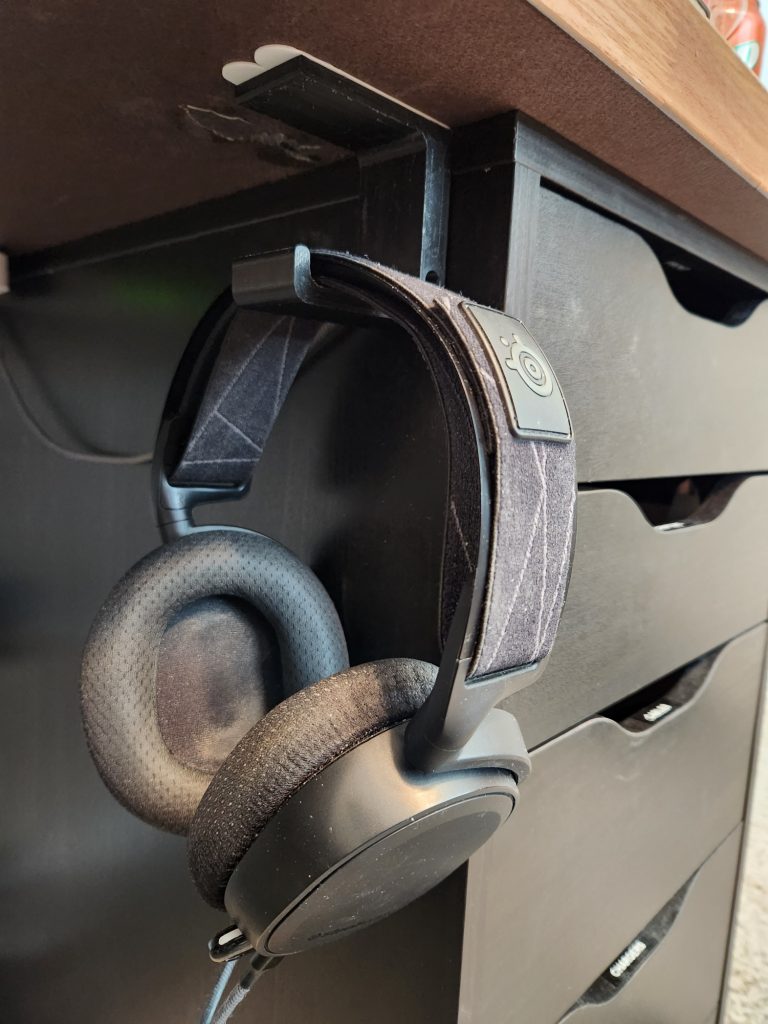
For a long time, I’ve used an under-desk headphone hanger, but since it was attached with adhesive, when I switched to my new desk I had to buy a new one. Except one thing had always bugged me about my old headphone hanger, so I took the opportunity to design and 3D print something perfect.
I use wireless headphones (Arctis 7, to be precise) and the old headphone hanger did not have any way of keeping the charging cable tidy. So when it came time to design my own hanger, I cut a hole through it to pass the charging cable through, to keep everything nice and neat.
A few Command strips to stick it to the underside of my desk, and my headphones are now perfectly cradled and the charging cable is corralled. And if this design is useful to anyone else, you can find it right here.
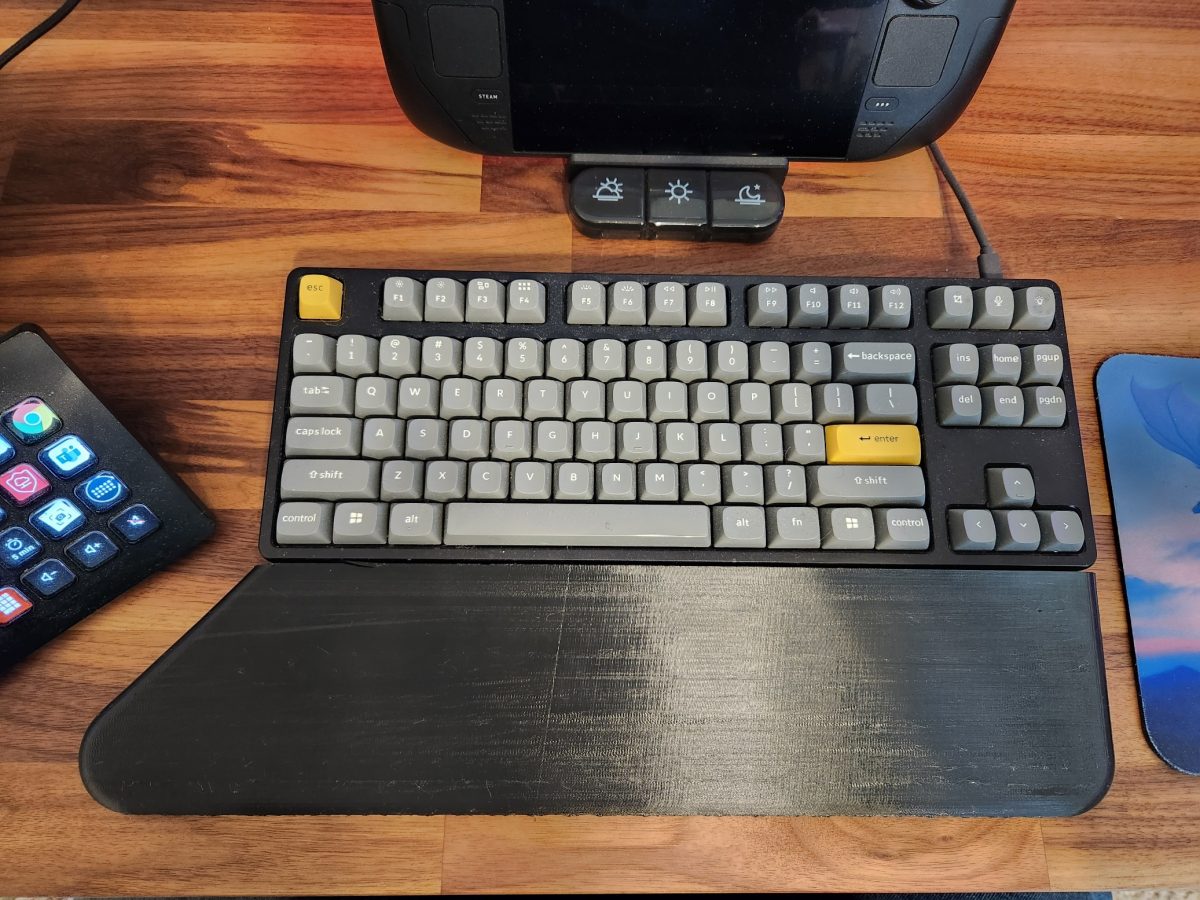
Ergonomic Wrist Rest
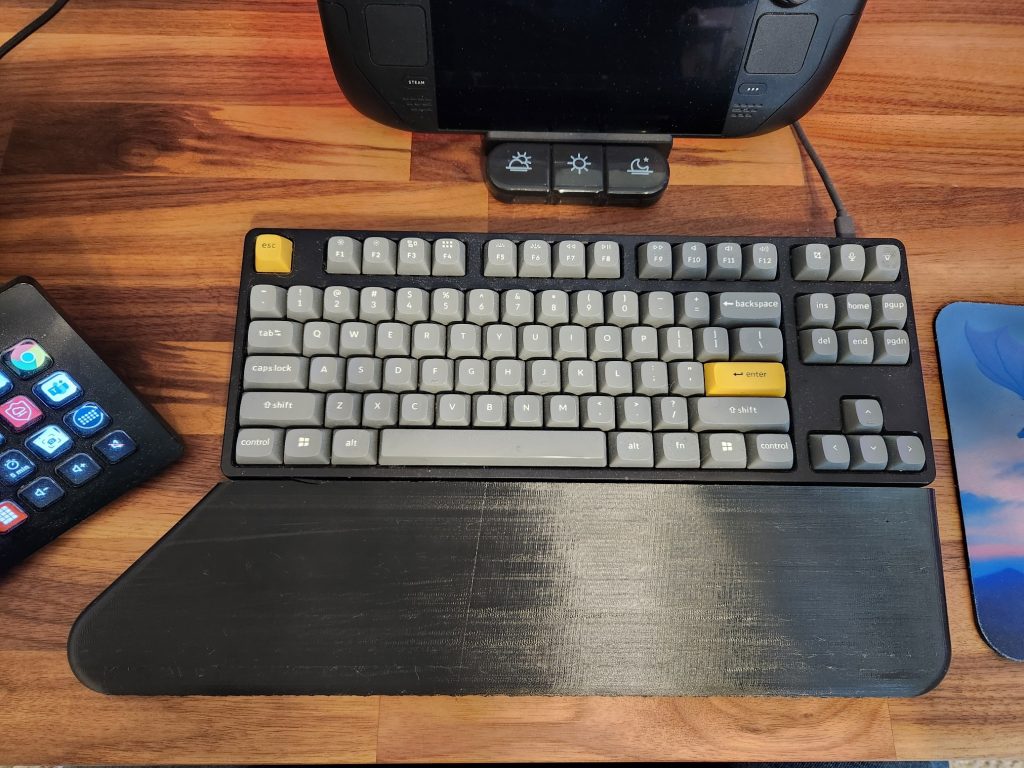
Probably my favorite 3D print so far, and my first foray into printing with flexible filaments, is a wrist rest for my keyboard. For a long time I’ve been using the Wooting silicone wrist rest which is very nice, but it has one critical flaw: In standard typing position, my left wrist hangs off the edge of the wrist rest, which is not terribly comfortable.
With the perfect wrist rest for me non-existent in the market, I decided to load a kilo of black Overture TPU into my Kobra Max and modeled my own perfect wrist rest in Fusion 360. I discovered the best way to print this specific design was on its back (the flat side that goes up against the keyboard) at 0.1mm layer height, and the end result is not perfectly smooth, but close enough and has been quite nice to type up this article on.
That’s all for this one. I hope some of these models prove useful to those who find them.